What are the Risks of DIY Wallpaper Removal?
Wallpaper removal looks straightforward on the surface: spray it down, peel it back, paint over it. Easy, right?
In practice, wallpaper removal is one of the most commonly underestimated home improvement projects a homeowner can take on.
DIY wallpaper removal can absolutely go well. We love it when homeowners take on DIY projects to better their homes. But when it goes wrong, it goes wrong in ways that are expensive, time-consuming, and sometimes dangerous to fix.
Understanding the risks before you start is the difference between a manageable project and a wall that needs to be rebuilt from scratch.
Why Wallpaper Removal Is More Complicated Than It Seems
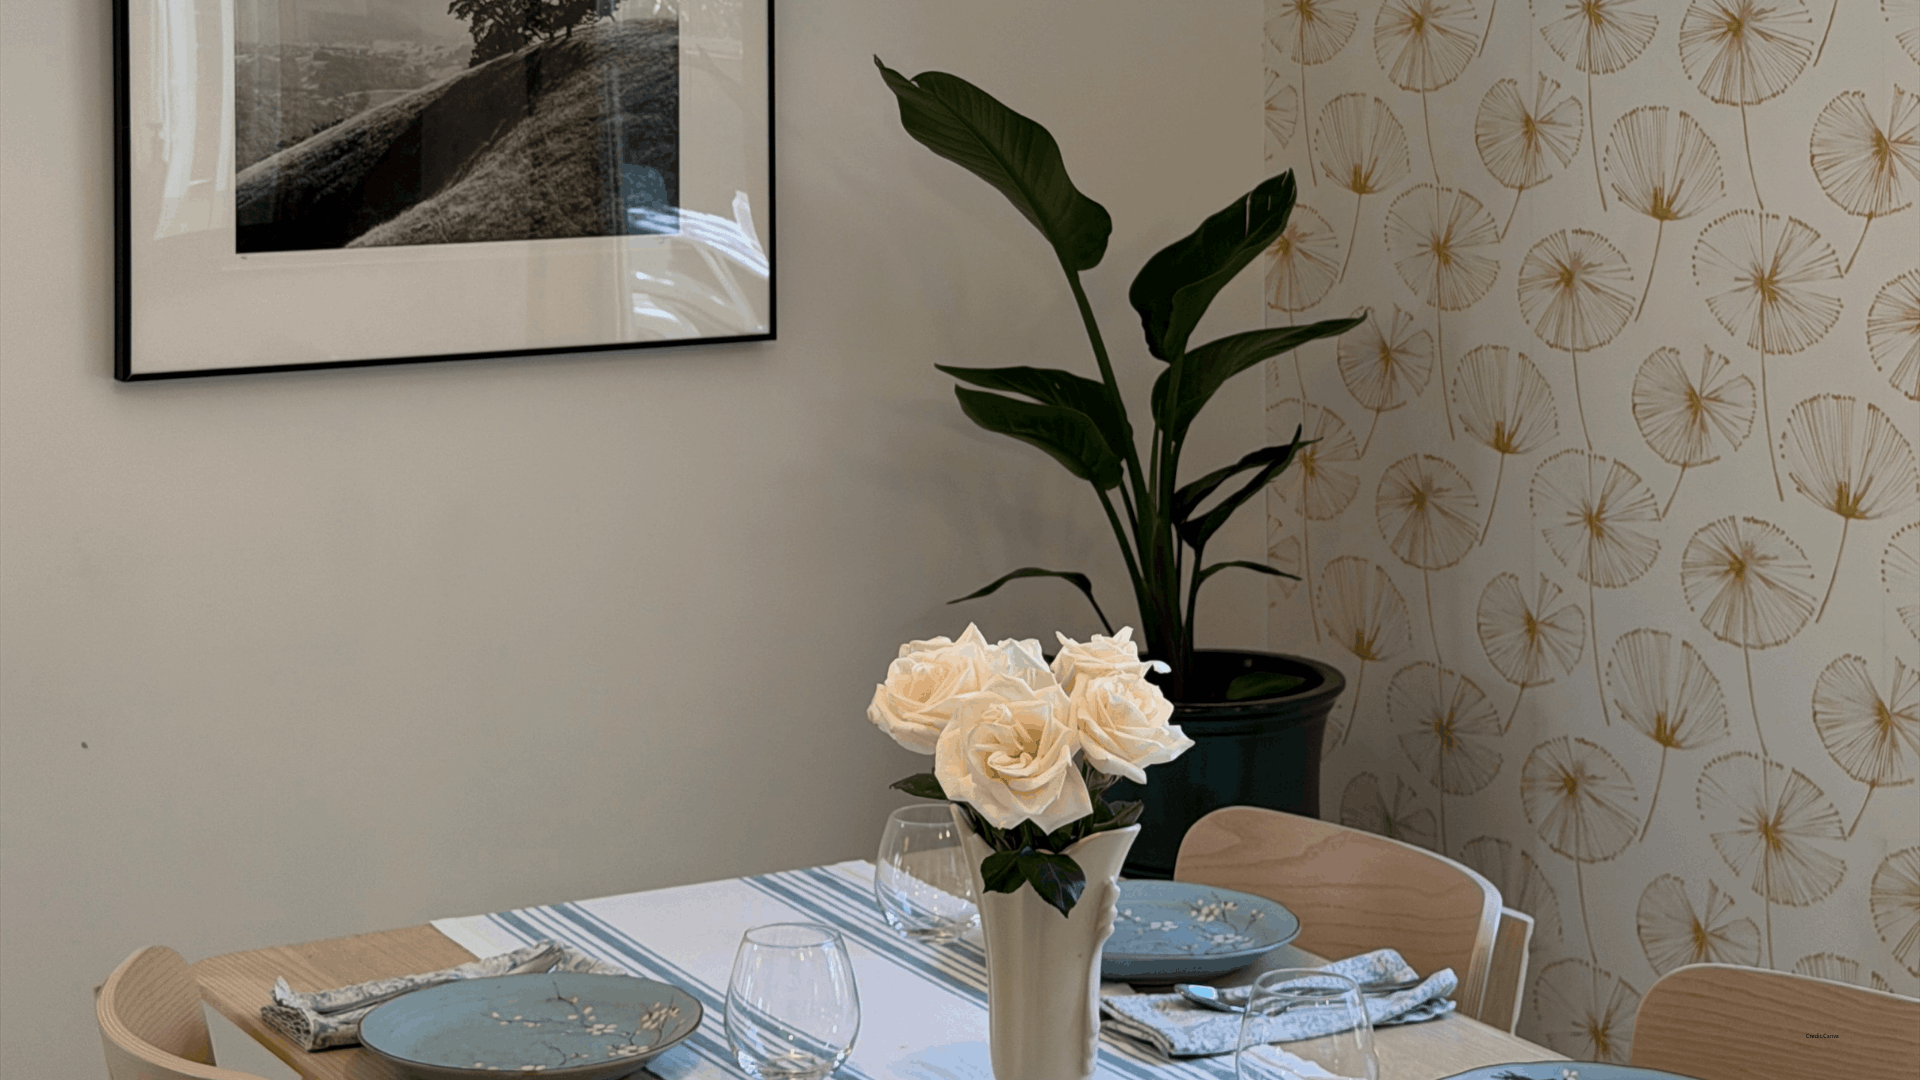
Wallpaper looks like it should just peel off, but it’s actually adhered to the wall, whether that’s with traditional pasted wallpaper or peel-and-stick wallpaper.
The adhesive used, the condition of your wall, and the wallpaper type all determine how the job goes.
Vinyl-coated wallpaper is the most resistant to removal. The vinyl facing repels water, so the removal solution can't penetrate it without first scoring it.
Fabric-backed wallpaper is heavier and more durable than standard paper, as it holds adhesive more firmly. The added weight means it tends to pull harder on the wall surface when it comes down.
Paper-only wallpaper is generally the easiest to remove. It absorbs water readily and releases adhesive more easily. The catch is that older homes often have plaster walls or unprimed drywall underneath, which introduces a separate set of complications.
Paintable wallpaper is designed to stay on the wall and be painted over, so it was never intended to come off cleanly. Removing it often means fighting both the adhesive and a surface that has been painted multiple times.
The age of the wallpaper and the number of layers beneath it (because yes, it was common practice to simply put a new layer of wallpaper on top of the old one) influence how easy it is to remove.
Let’s dive deeper into some of the risks of DIY wallpaper removal.
Risk #1: Damaging the Drywall Surface
Drywall damage is the most common problem and the most costly to fix.
When wallpaper adhesive has bonded deeply into the drywall's paper facing over the years, removing the wallpaper means pulling that facing with it. The result is a wall surface that looks like it's been torn apart in patches.
Over-wetting wallpaper during removal accelerates the problem. Drywall that absorbs too much moisture softens and becomes structurally compromised, making it even more prone to tearing and gouging as the work continues.
What starts as a straightforward removal job becomes a bigger repair project before the transformation can begin.
Risk #2: Gouging and Scoring the Wall
You’ll most likely reach for a scoring tool during your DIY wallpaper removal. It’s the recommended way to remove wallpaper, but it’s also one of the biggest reasons walls get damaged.
The purpose of a scoring tool is to perforate the wallpaper surface so that water or removal solution can penetrate through to the adhesive underneath. The problem is that the line between scoring the wallpaper and scoring the wall behind it is thinner than most homeowners expect, and the damage it causes isn't always obvious in the moment.
Gouges and deep scratches in drywall or plaster are easy to miss under the wallpaper and removal solution until the wall is dry and the room is lit. You’ll see clear lines and divots through the paint.
Repairing scoring damage means skim coating the affected areas (applying a thin, smooth layer of "mud" over walls), sanding smooth, and priming before any finish coat can go on. This process adds a ton of time and material cost.
Risk #3: Moisture Damage from Over-Wetting
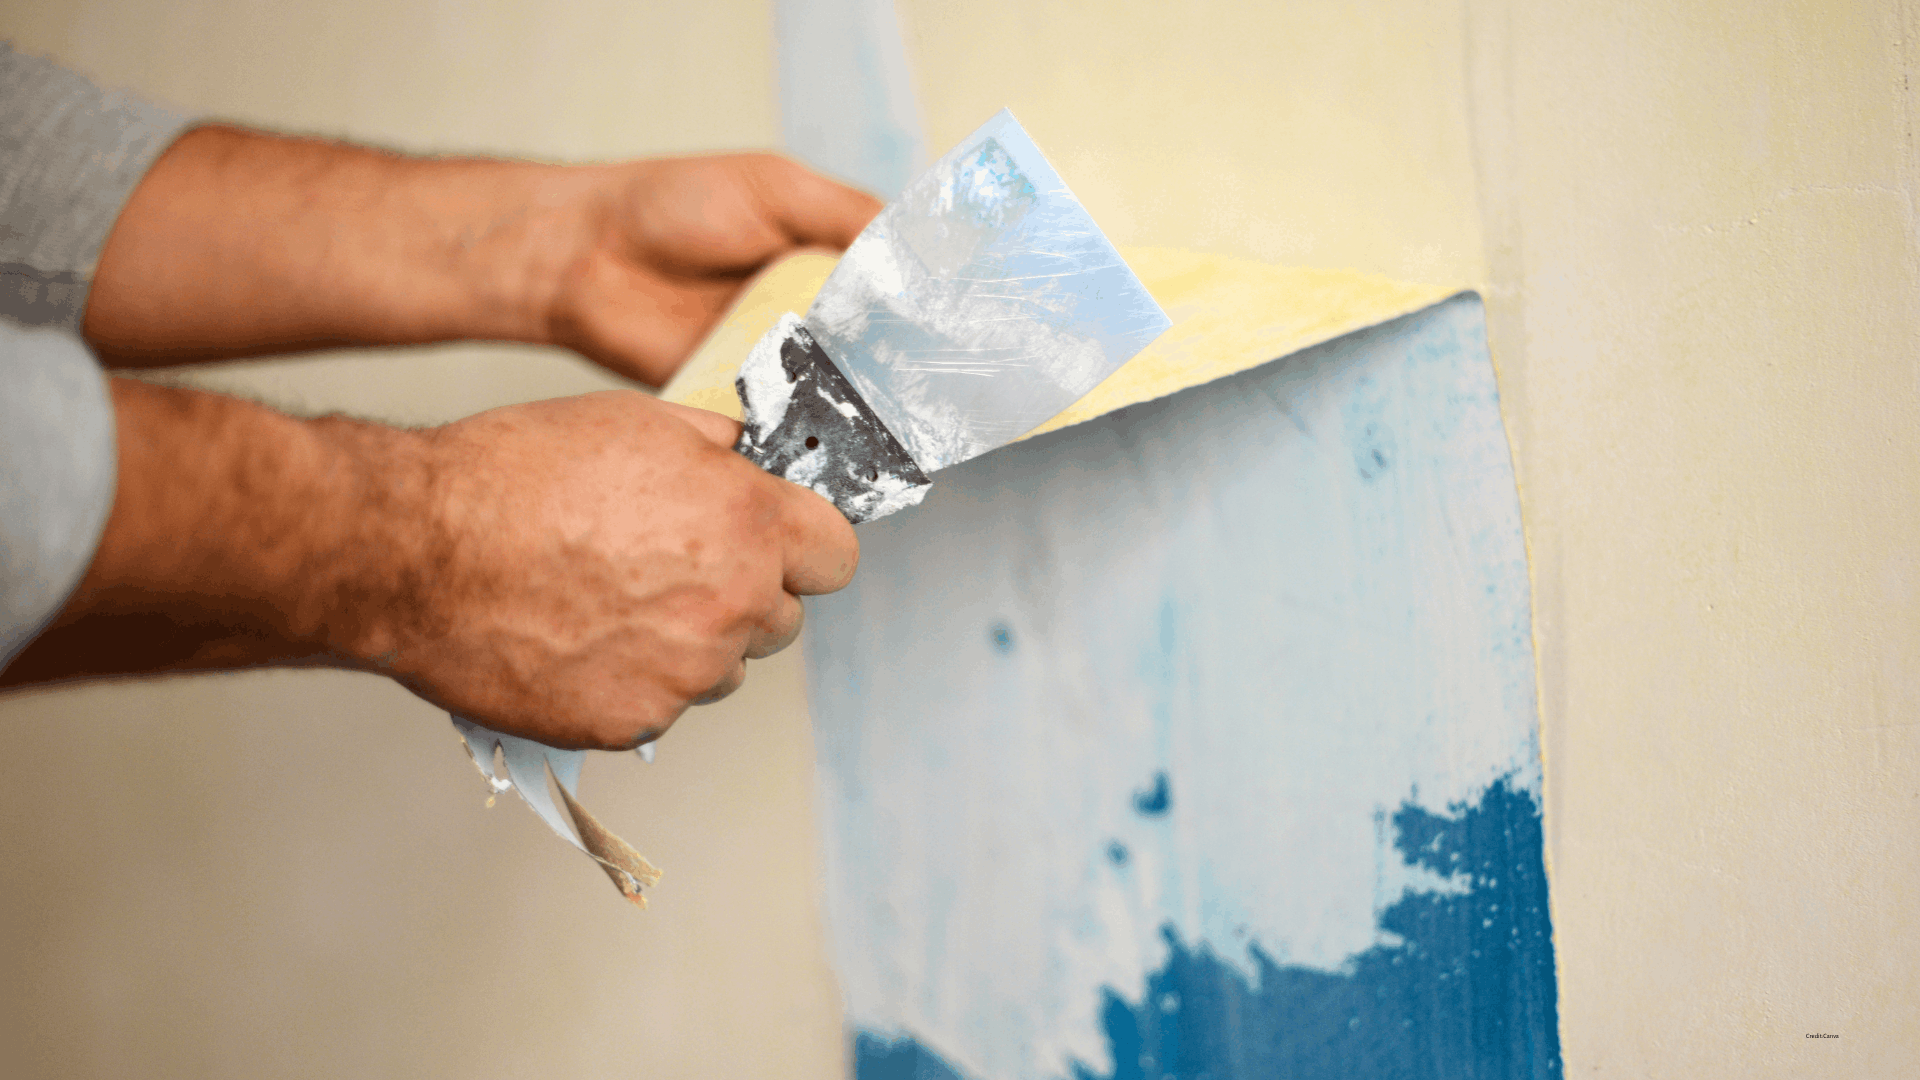
Water is the primary tool for wallpaper removal, but it can also be one of the biggest sources of damage when applied too aggressively or without proper control. The goal is to saturate the adhesive layer enough to release its bond, not to soak the wall behind it.
That distinction is difficult to manage. Drywall that absorbs excess moisture swells, softens, and loses structural integrity. Water continues to migrate through the wall long after application. In poorly ventilated rooms or on exterior walls with limited airflow, it can take days to fully dry out.
Then, if paint goes on before that moisture has completely dissipated, the finish will bubble, peel, and fail in a matter of months. Long-term, walls that stay damp create conditions for mold growth, where it isn't visible until it's already a serious problem.
Controlling moisture during wallpaper removal is about understanding what the wall can absorb and staying within that threshold throughout the entire process.
Risk #4: Discovering Multiple Layers
One of the most common surprises in a DIY wallpaper removal project is pulling back the first layer and finding another one (or two or three!) underneath. In older Twin Cities homes, it's not unusual to find multiple layers going back fifty years or more.
Every additional layer:
Multiplies the time and effort required
Increases the amount of moisture needed to penetrate through to the original wall surface
Raises the risk of damage
The adhesive from multiple generations of wallpaper also builds up into a thick, uneven residue that bonds differently in different spots—releasing cleanly in some areas and refusing to budge in others. You’re left with a surface that's almost impossible to paint without extensive prep work to level it out.
The temptation is to stop halfway and paint over whatever is left. Trust us—don’t do it. Paint applied over partially removed wallpaper will never lie flat. The seams, edges, and texture of whatever is underneath will be visible through the finish coat.
Risk #5: Uncovering Damaged or Unprepared Walls Underneath
Once the wallpaper comes down, you might have a surprise waiting for you underneath:
Cracks
Holes
Water stains
Failed joint compound
Visible tape lines
Uneven surfaces
Mold
Covering a problem wall with wallpaper rather than repairing it was once a popular shortcut. Wallpaper removal day is sometimes the first time anyone has seen what's actually underneath in decades.
The range of what turns up varies widely:
Minor cosmetic imperfections that add a few hours of prep work on one end
Significant structural or moisture damage that requires professional remediation
What makes this risk particularly disorienting for a DIYer is that it has nothing to do with how carefully the removal was done. The wall was already damaged before the first strip came off. But now it’s your problem to fix, and you probably weren’t prepared for a bigger project to come up.
Risk #6: Wallpaper Glued Directly to Unprimed Drywall
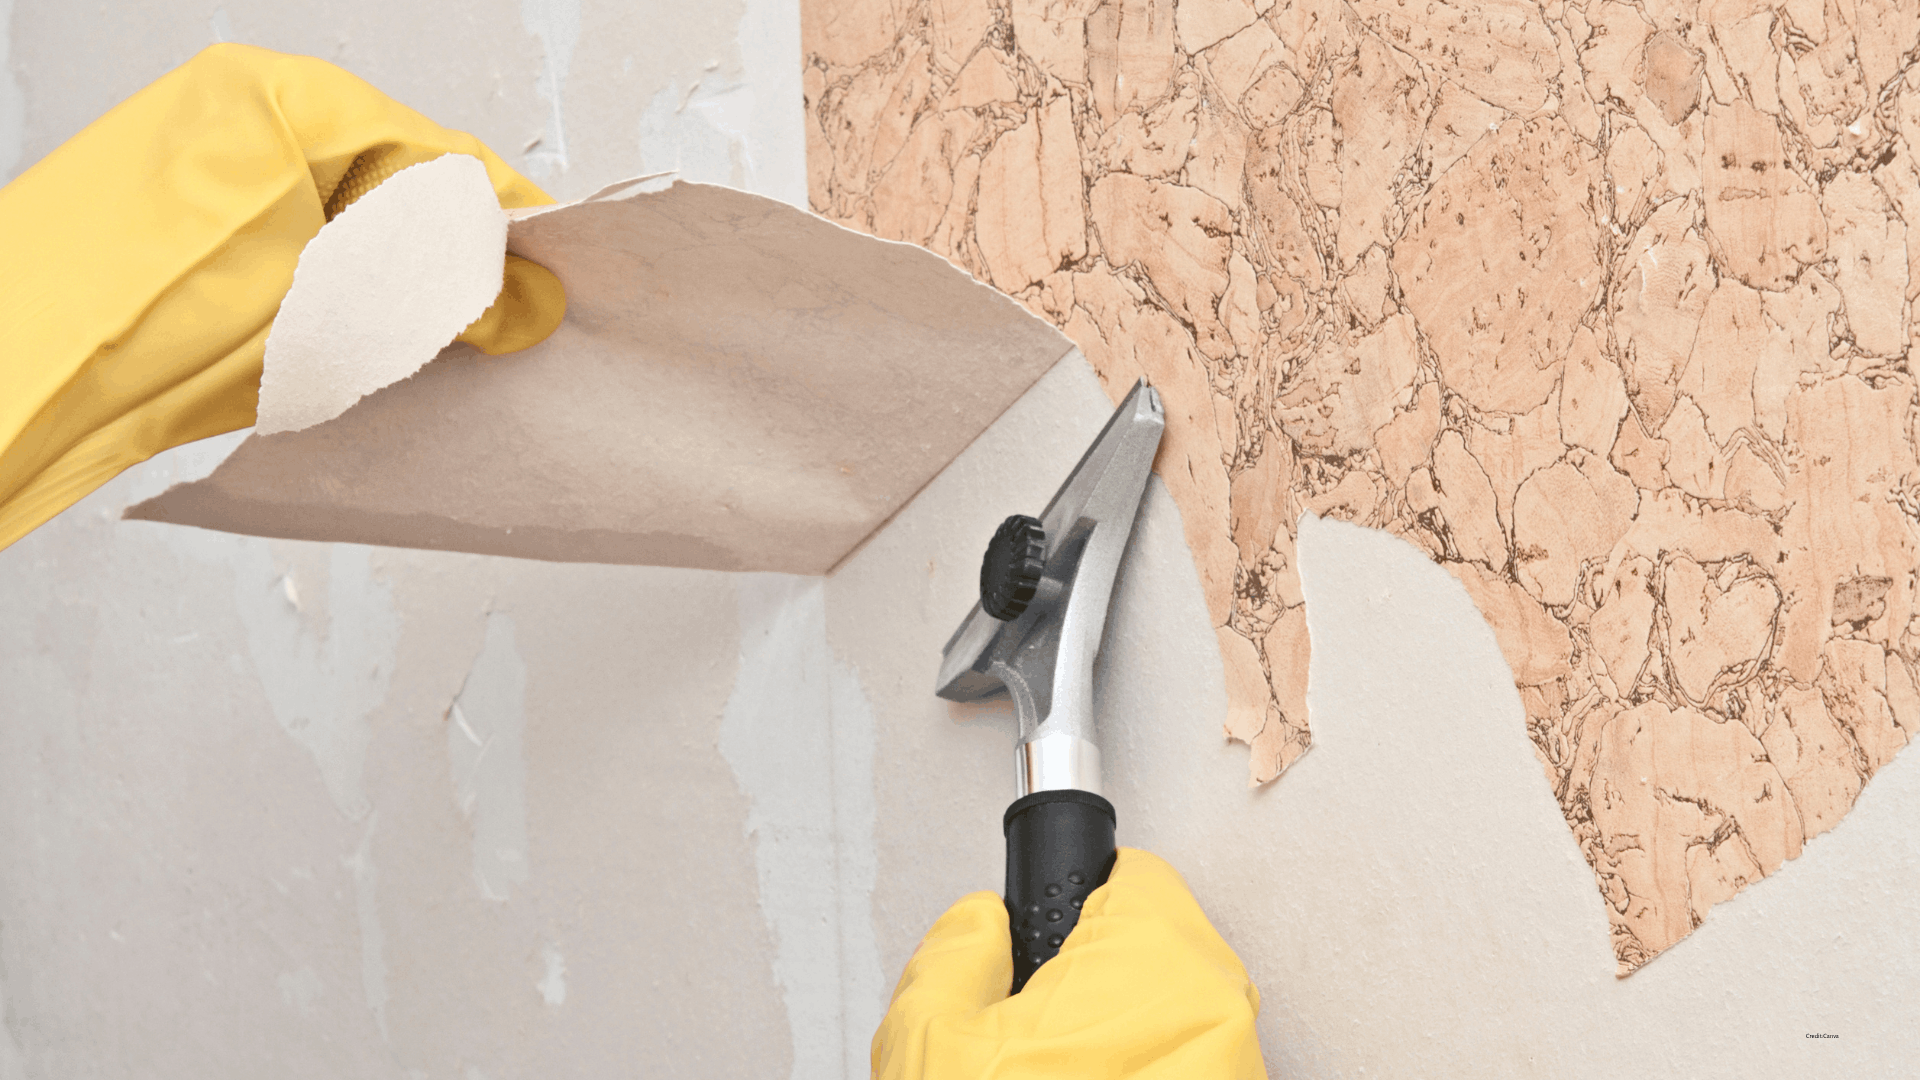
Finding wallpaper that was hung directly over unprimed drywall turns a wallpaper removal project into a major repair job. Priming drywall before hanging wallpaper was standard practice because it creates a barrier between the adhesive and the raw drywall paper, allowing the wallpaper to bond to the primer rather than the wall itself.
When that primer coat was skipped, which happened more often than you think, the adhesive bonds directly to the drywall facing. Removing wallpaper in these conditions means the drywall facing comes with it, leaving behind chalky, uneven, and completely unpaintable gypsum that requires significant remediation.
The real bummer? There is no technique that fully compensates for this situation once you're in it. Walls in this condition almost always require a full skim coat at a minimum, and in severe cases, the drywall needs to be replaced entirely.
Risk #7: Lead Paint and Older Homes
Lead paint was standard on interior and exterior paint in residential construction before it was banned for that use in 1978. In older homes, it's common to find it on the walls beneath wallpaper that was hung over it rather than stripped back to the bare surface.
Removing wallpaper in that scenario disturbs the underlying lead paint, whether by scraping, sanding, or pulling material away from the wall, and releases lead dust into the air. When that dust settles on floors, furniture, and surfaces throughout the home, the health implications are serious, especially in homes with young children or pregnant women.
The EPA's Renovation, Repair, and Painting Rule requires certified contractors to follow specific containment and cleanup protocols when working in pre-1978 homes that may contain lead paint. But those same legal requirements don't apply to homeowners working on their own property, which means DIYers can unknowingly expose their families because of improper removal.
Testing for lead paint before any removal begins in an older home is not optional.
Risk #8: Mold Behind the Wallpaper
Discovering mold mid-removal can quickly escalate a straightforward project. Wallpaper creates conditions that are perfect for mold growth by trapping moisture against the wall surface and limiting airflow. In rooms with any humidity, mold finds the dark, damp environment it needs to spread.
Disturbing mold during removal without proper containment releases spores into the air throughout the room. Depending on the extent of the growth, it can also spread throughout the home.
Painting over mold, even after the wallpaper is gone, is never a solution. Proper remediation depends on the extent of the damage:
Surface mold on a solid substrate can sometimes be treated and sealed by a professional
Mold that has penetrated the wall material requires the removal of the affected section.
Finding mold during a DIY project, without the tools, protective equipment, or remediation knowledge to handle it correctly, means you’ve moved beyond a simple weekend project.
What Professionals Do Differently
Wallpaper removal is one of those projects where the risks aren't obvious until you're already in the middle of them.
That’s why it’s often a better choice to have a professional come in and do it for you. The Valley Creek Painters team will assess the situation, carefully remove the wallpaper, and address any surprises that arise during the process. Then, we will apply a fresh coat of paint to transform the room.
Contact us for a free estimate for wallpaper removal and painting before you start tearing down sheets of wallpaper!