
Popcorn Ceiling Removal with Stunning Before and After Transformations
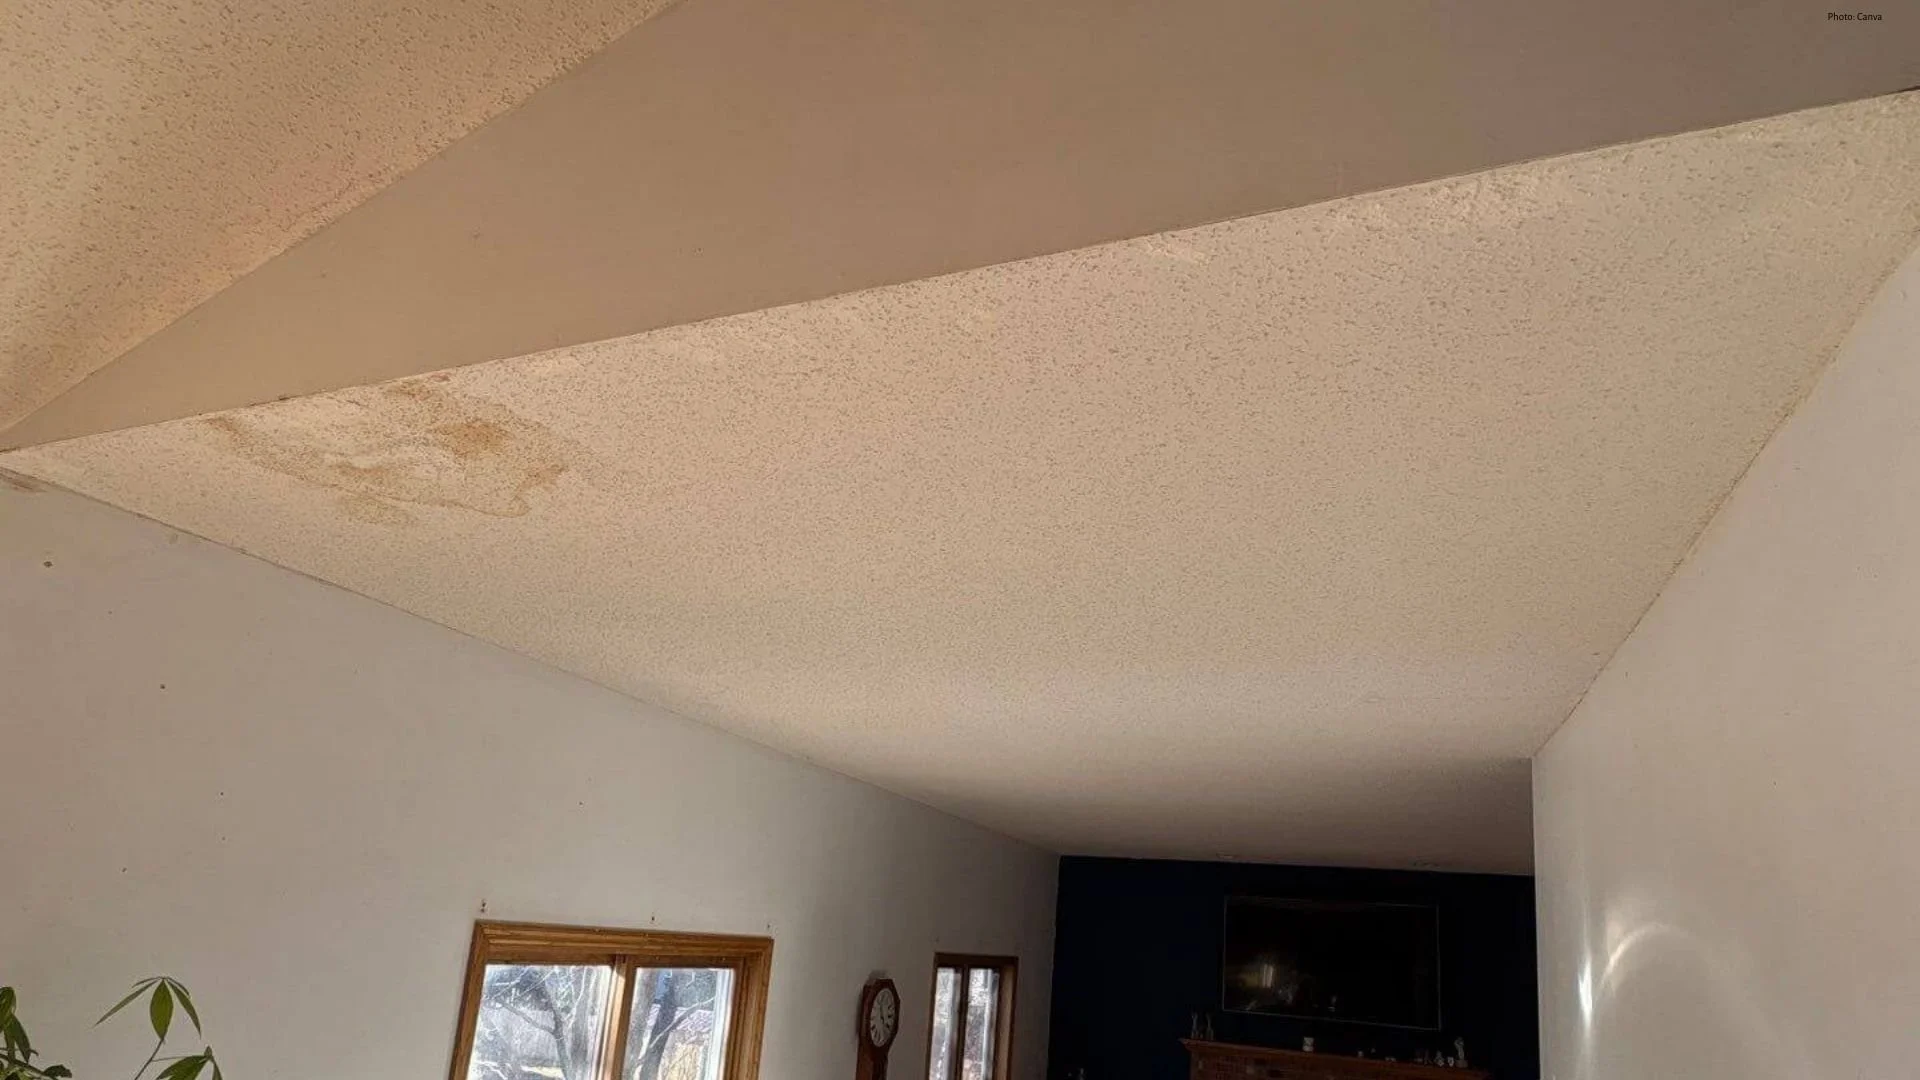
Photo by RDNE Stock project
Popcorn ceilings were a popular choice in homes for decades, and if you’re reading this, you probably have at least one room with bumpy texture. Many homeowners see them as outdated and are looking for popcorn ceiling removal options.
Removing a popcorn ceiling can dramatically improve a room's look and feel, but it’s a process that requires some preparation to make the most of your investment.
We’ll walk you through what to expect before, during, and after popcorn ceiling removal so you can make your home feel more modern.
Key Takeaways:
Why the popcorn ceiling was a popular design choice
Signs your popcorn ceiling needs to go (beyond aesthetics)
How to prepare for a team to come in and remove popcorn ceilings
The popcorn ceiling removal process
The cost to remove popcorn ceilings
What to expect from start to end
What Is a Popcorn Ceiling?
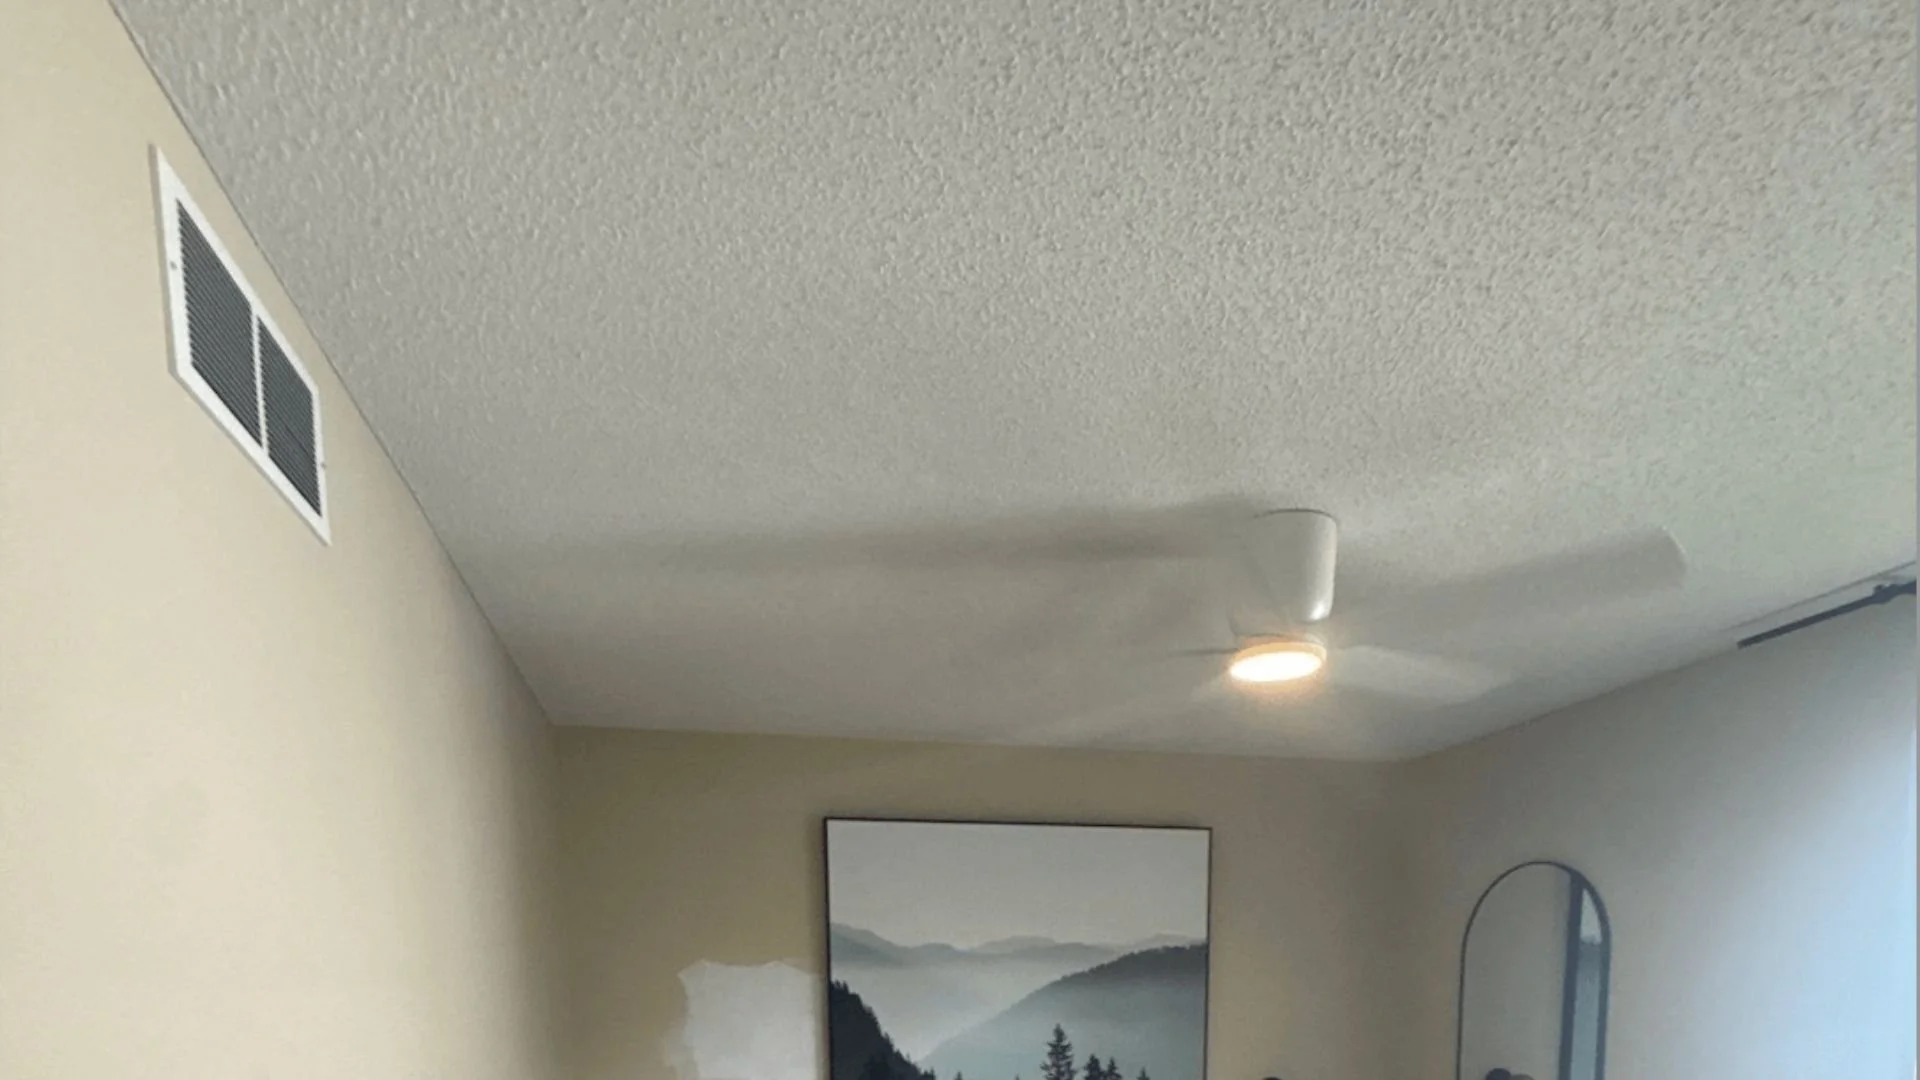
Photo by Ivan Samkov
A popcorn ceiling is a ceiling finish that has a bumpy, cottage-cheese-like texture. It became popular in the mid-20th century because it was an easy way to hide imperfections and reduce noise within the home.
Popcorn ceilings were often sprayed on using a mixture that included drywall or Styrofoam particles, creating the signature rough texture. While it was once trendy, most homeowners today find it outdated and difficult to maintain, leading many to seek popcorn ceiling removal services.
3 Signs Your Popcorn Ceiling Needs Removal
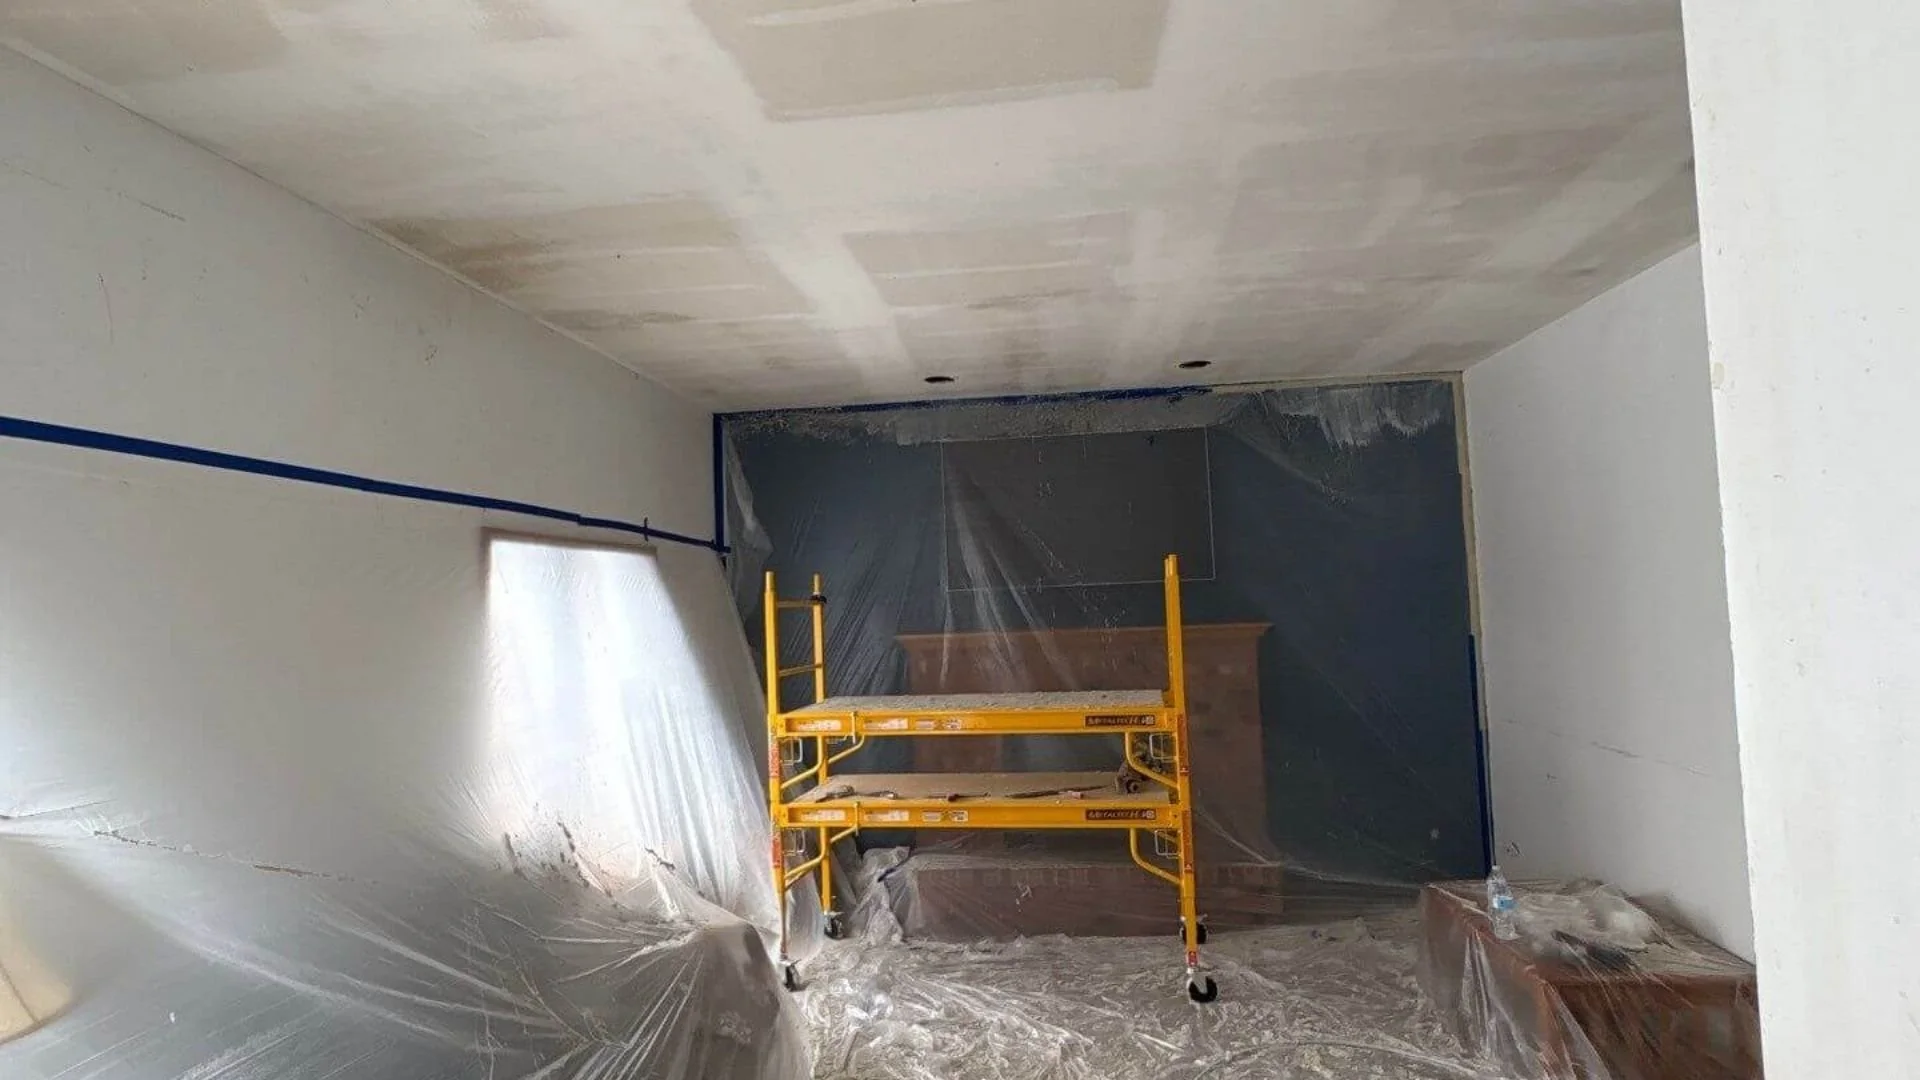
Photo by Curtis Adams
Beyond the outdated aesthetics of the popcorn ceiling look, there are a few signs it might be time to ditch the bumpy look and opt for a smooth finish.
Cracking or peeling texture.
Stains from water damage.
Presence of asbestos.
Popcorn ceilings installed before the 1980s may contain asbestos, a hazardous material containing toxins and carcinogens. Home builders stopped using asbestos in 1980, so if your home was built before then, testing is strongly recommended before attempting removal.
Preparing for Popcorn Ceiling Removal
Proper preparation is key to a smooth popcorn ceiling removal process. Before work begins, clear furniture from the room or carefully cover it with protective drop cloths to prevent dust and debris from settling on surfaces. Popcorn removal is a messy process! Expect uncovered flooring, walls, and fixtures to get dusty.
Professionals assess ceilings for signs of asbestos or other hazards, taking the necessary precautions to comply with safety regulations. The room needs adequate ventilation, whether from open windows or fans. Professional teams usually turn off central HVAC systems during removal to prevent dust from circulating throughout the home.
The removal team will share the timeline, expected disruptions, and cleanup procedures to help set realistic expectations. But don’t worry—your home is in good hands!
The Popcorn Ceiling Removal Process
While you’re at work or enjoying a day in the sunshine, the team will get to work removing your popcorn ceilings.
Over the course of about one day of work per room, the team will be working on:
Step 1: Wetting the ceiling to soften the texture.
Step 2: Scraping carefully to avoid damaging drywall.
Step 3: Dealing with stubborn areas.
Step 4: Sanding and smoothing after removal.
Step 5: Cleaning and prepping for painting or new texture.
Like we’ve said, this is a very messy and dusty process! While it’s okay for you to sleep in your home during the few days of removal, it’s best to stay in a different part of the house.
Popcorn Ceiling Removal Cost
The cost of popcorn ceiling removal varies based on several factors, including:
Room size
Ceiling height
Material
Whether asbestos testing or remediation is required
Moving furniture
Wall and floor protection
Disposal of debris
For a standard professional removal in a typical 12×12-foot room, you can generally expect:
Basic Removal (no asbestos, standard ceiling height): $3- $5 per square foot
Removal with Asbestos Testing: $200–$600 for testing, plus any specialized removal fees
High Ceilings or Additional Prep Work: Costs can increase depending on complexity
You might be tempted to DIY this project to save money. While we appreciate your hands-on attitude, hiring a professional ensures safety, minimizes mess, and guarantees a smoother, paint-ready ceiling, which can save both time and money in the long run.
Investing in professional removal is especially worthwhile if your ceiling is older, damaged, or contains asbestos, or if you plan to have the ceiling painted or refinished afterward.
What to Expect During the Project
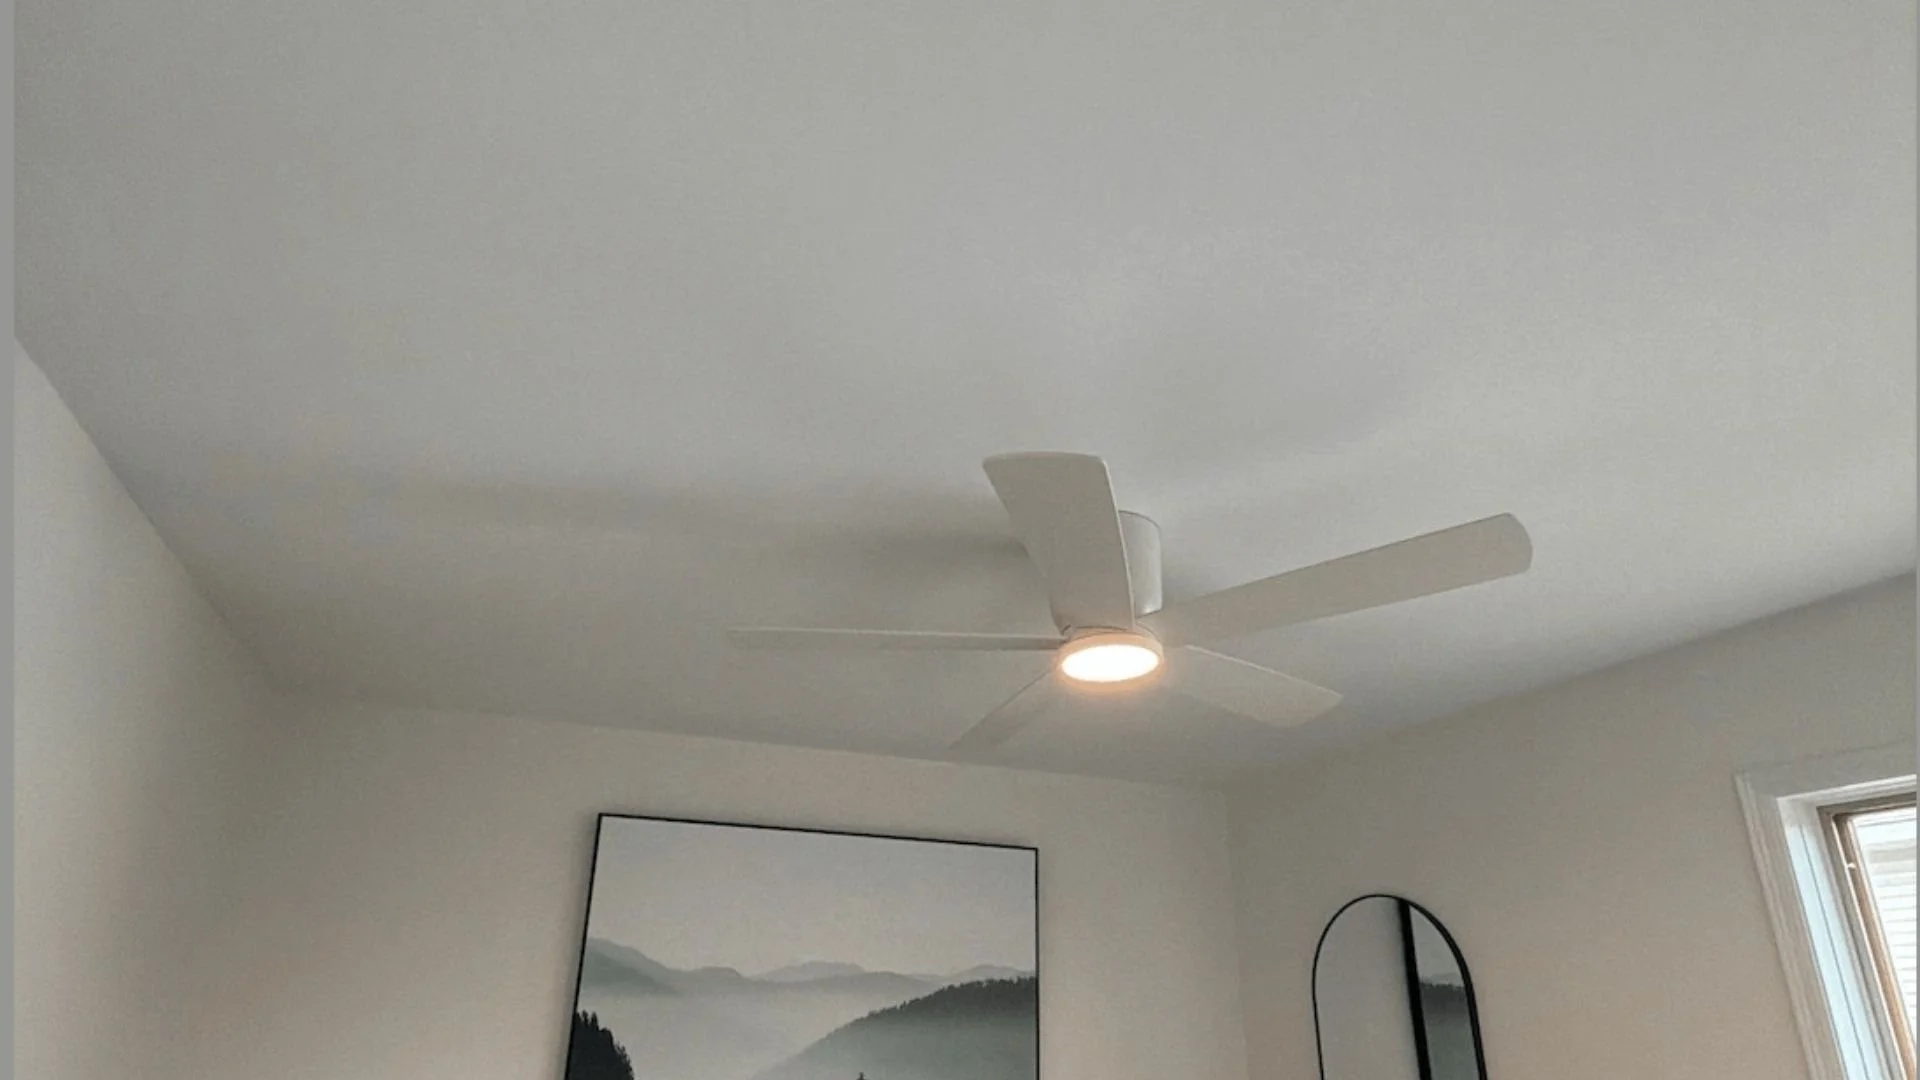
Photo by Malte Luk
When professionals remove a popcorn ceiling, the process is efficient but can still be messy and disruptive. Knowing what to expect can help you plan accordingly throughout the project.
Noise and Activity: Expect scraping, sanding, and occasional hammering or tapping as the ceiling is prepped and smoothed.
Dust and Debris: Even with proper containment and ventilation, some dust is inevitable.
Timing: A standard-size room typically takes one full day to complete, including preparation, removal, sanding, and cleanup.
Safety Measures: Professionals follow safety protocols, including the use of protective gear and proper ventilation.
By understanding these steps before booking popcorn ceiling removal, you can plan around your schedule, protect other areas of the home, and stay comfortable throughout the process.
Popcorn Ceiling Removal Is Worth It
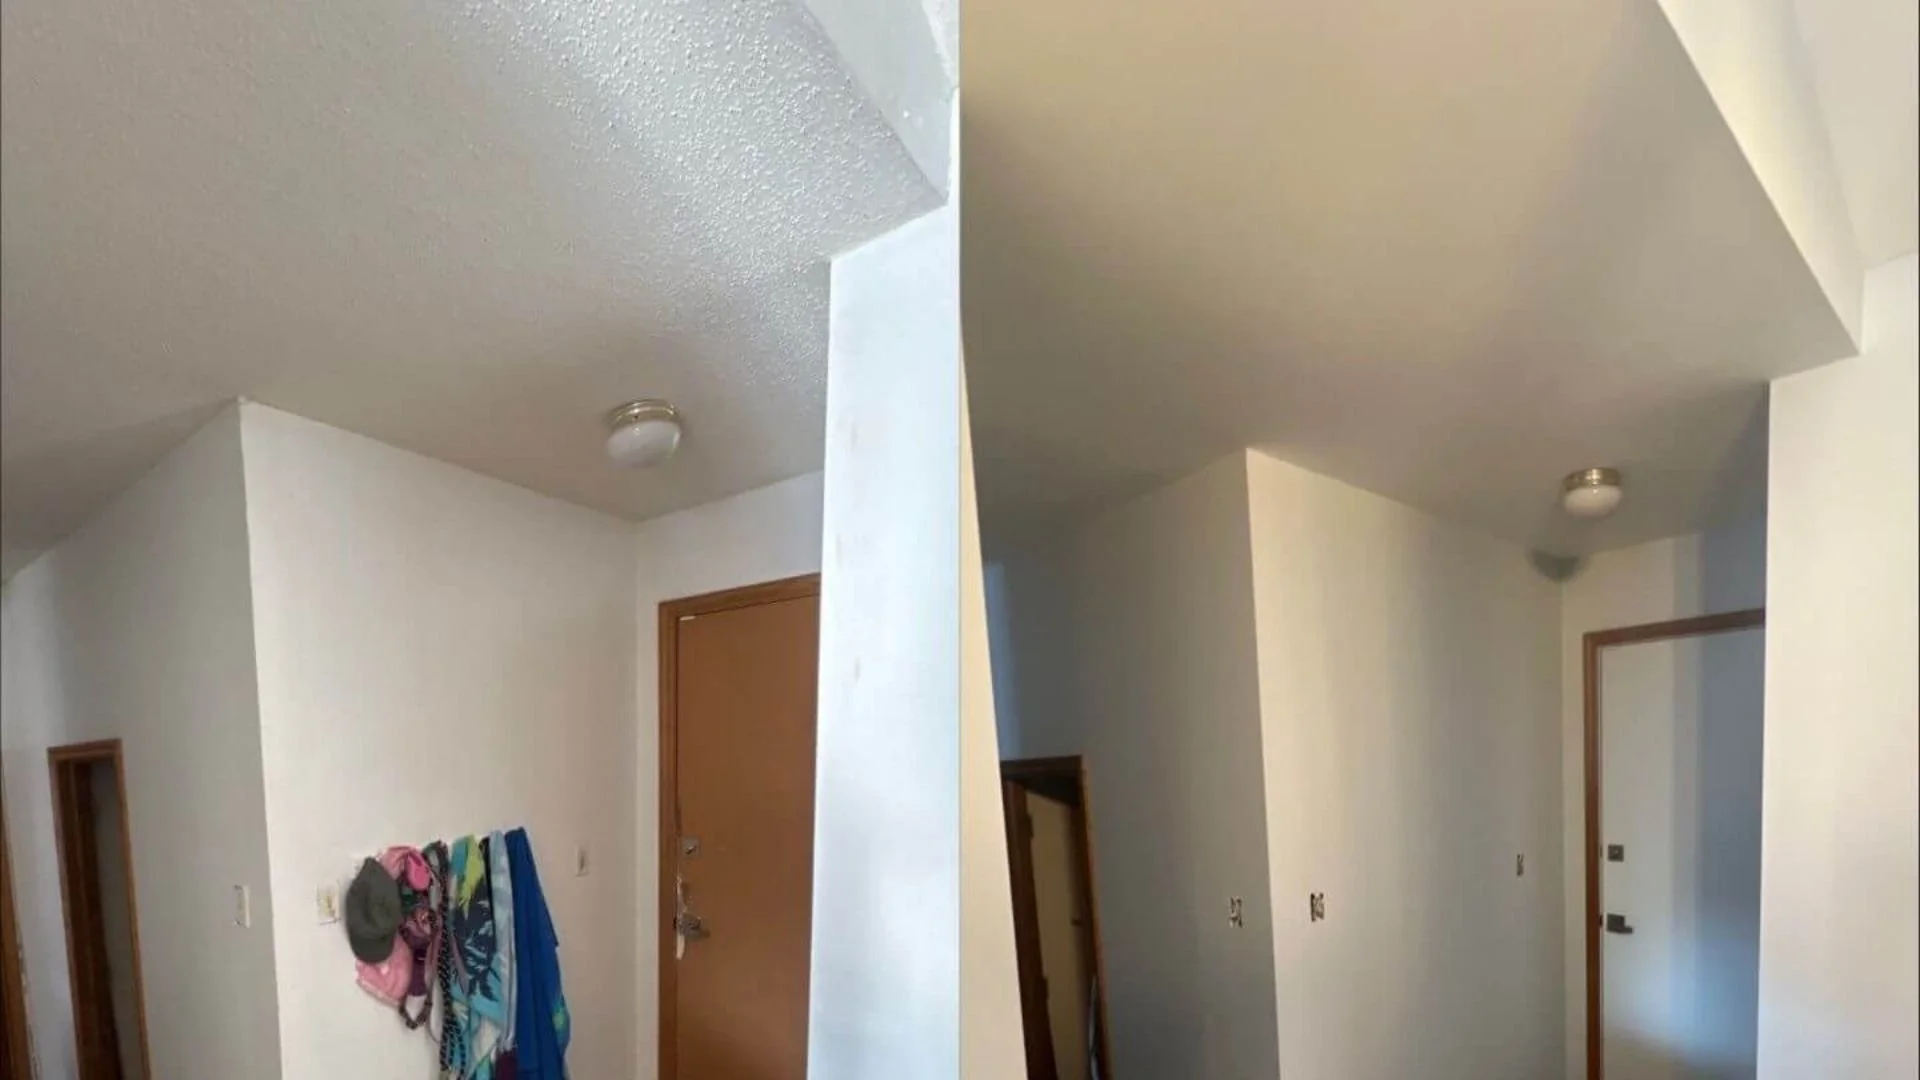
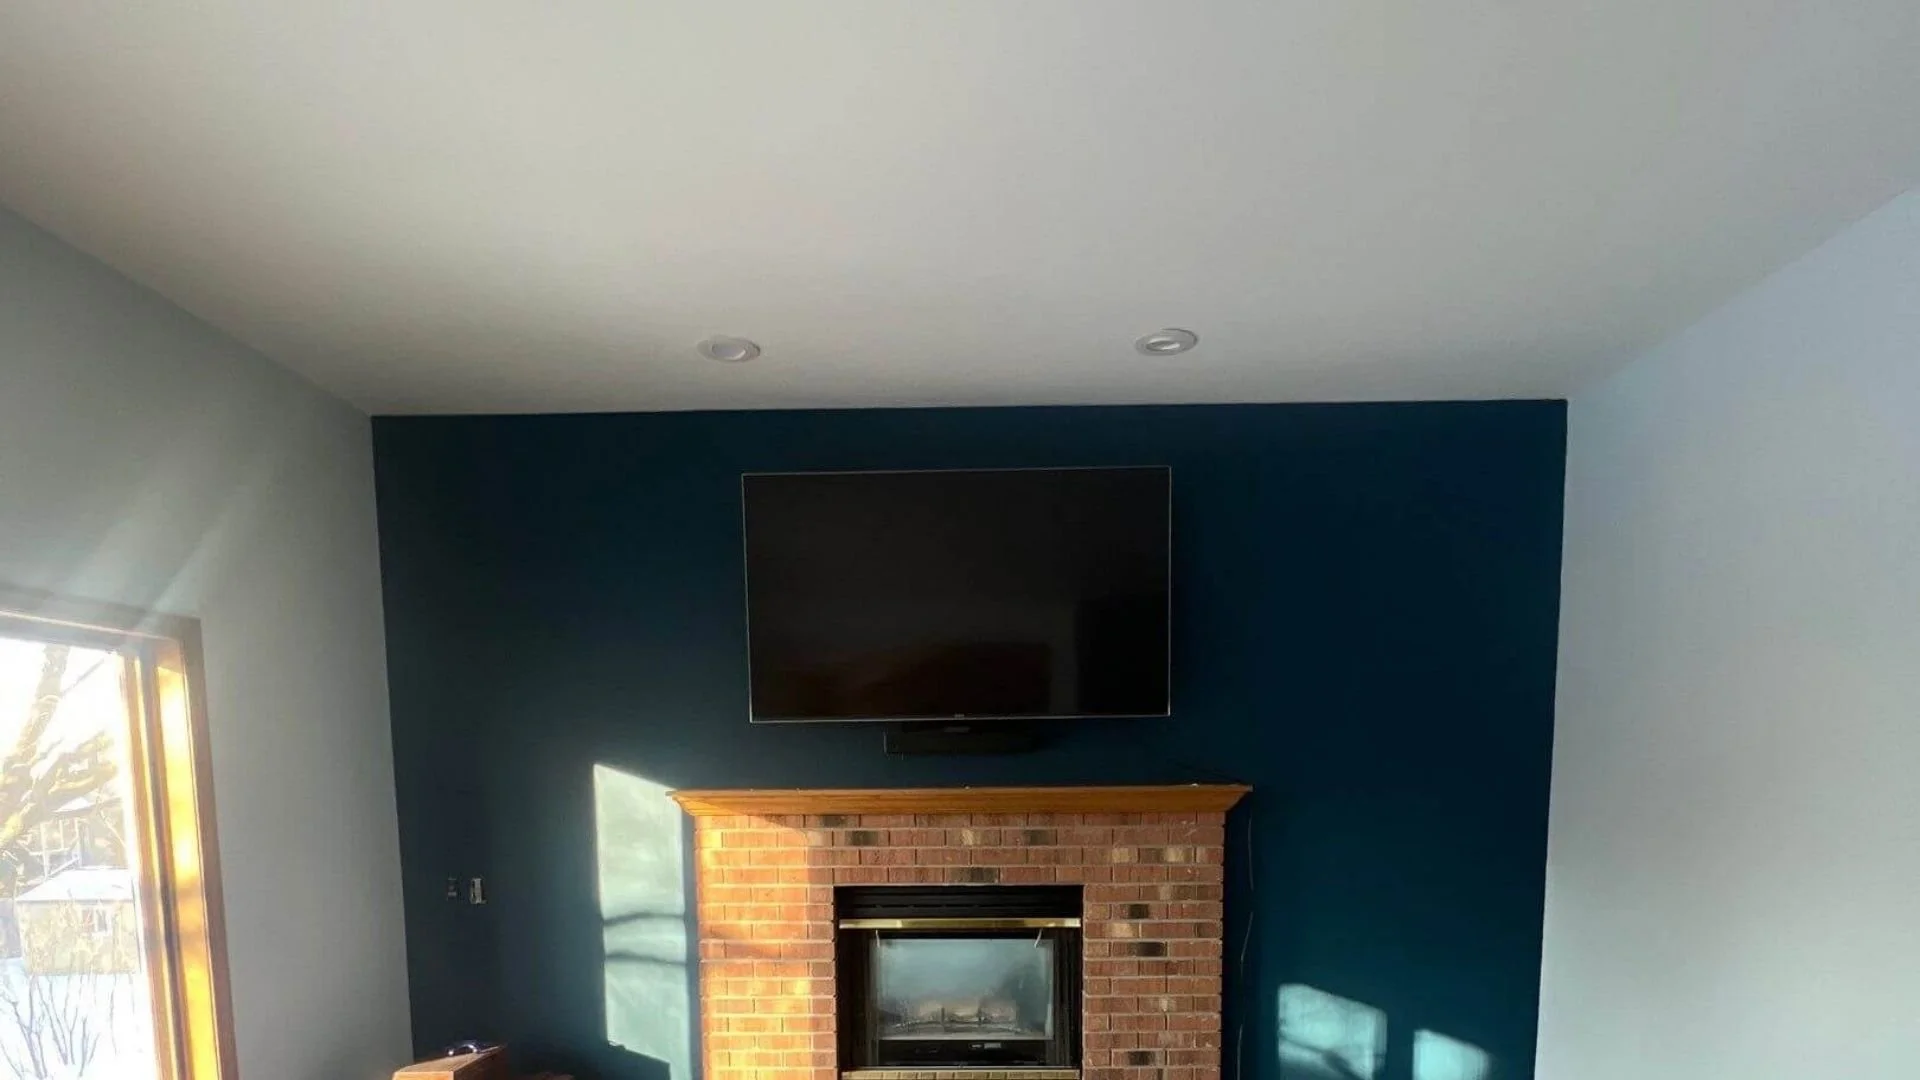
Popcorn ceiling removal is more than just a cosmetic upgrade. It’s an investment in the safety and modern aesthetic of your home (and we don’t expect popcorn ceilings to come back in style anytime soon!)
By hiring professionals, you can minimize dust, ensure proper handling of any potential hazards, and create a clean surface ready for painting or finishing. Understanding the process helps homeowners plan effectively and feel confident in the results.
With the right preparation and professional expertise, your newly finished ceiling will give your home a modern look for years to come.
Our ceiling painting service includes popcorn ceiling removal and retexturing. We ensure a smooth finish that enhances the overall look of your space. Schedule a free estimate with our team today.
Popcorn Ceiling Removal FAQs
Can I remove popcorn ceilings myself safely?
While DIY removal is possible, it comes with risks, especially if your ceiling contains asbestos. Hiring a pro is the safest way to ensure a smooth ceiling.
How long does the removal process take?
For a standard-size room (about 12×12 feet), professional removal typically takes a full day. That includes preparation, scraping, sanding, and cleanup. Larger rooms, high ceilings, or ceilings with damage may require additional time to ensure the popcorn ceiling is removed safely.
Will removal increase home value?
Yes. Removing popcorn ceilings modernizes your home and improves its appeal to buyers. On its own, it’s not a huge return on investment, but it can make your home feel updated and well-maintained, which often contributes to a higher sale price.
Is my home safe if asbestos is present?
If the ceiling is intact and undisturbed, then yes, it’s safe to live in a home with asbestos. Asbestos is only dangerous when fibers become airborne, which can happen if the ceiling is scraped, sanded, or damaged. Avoid disturbing the texture and have a professional inspect it if you plan to remove or renovate the ceiling.
Is it cheaper to remove popcorn from the ceiling or cover it?
Covering a popcorn ceiling with drywall or a new texture may seem cheaper upfront, but it can hide existing damage and require extensive prep. It also makes the room feel smaller because the covering removes an inch or two of height.